How To: Boil Eggs
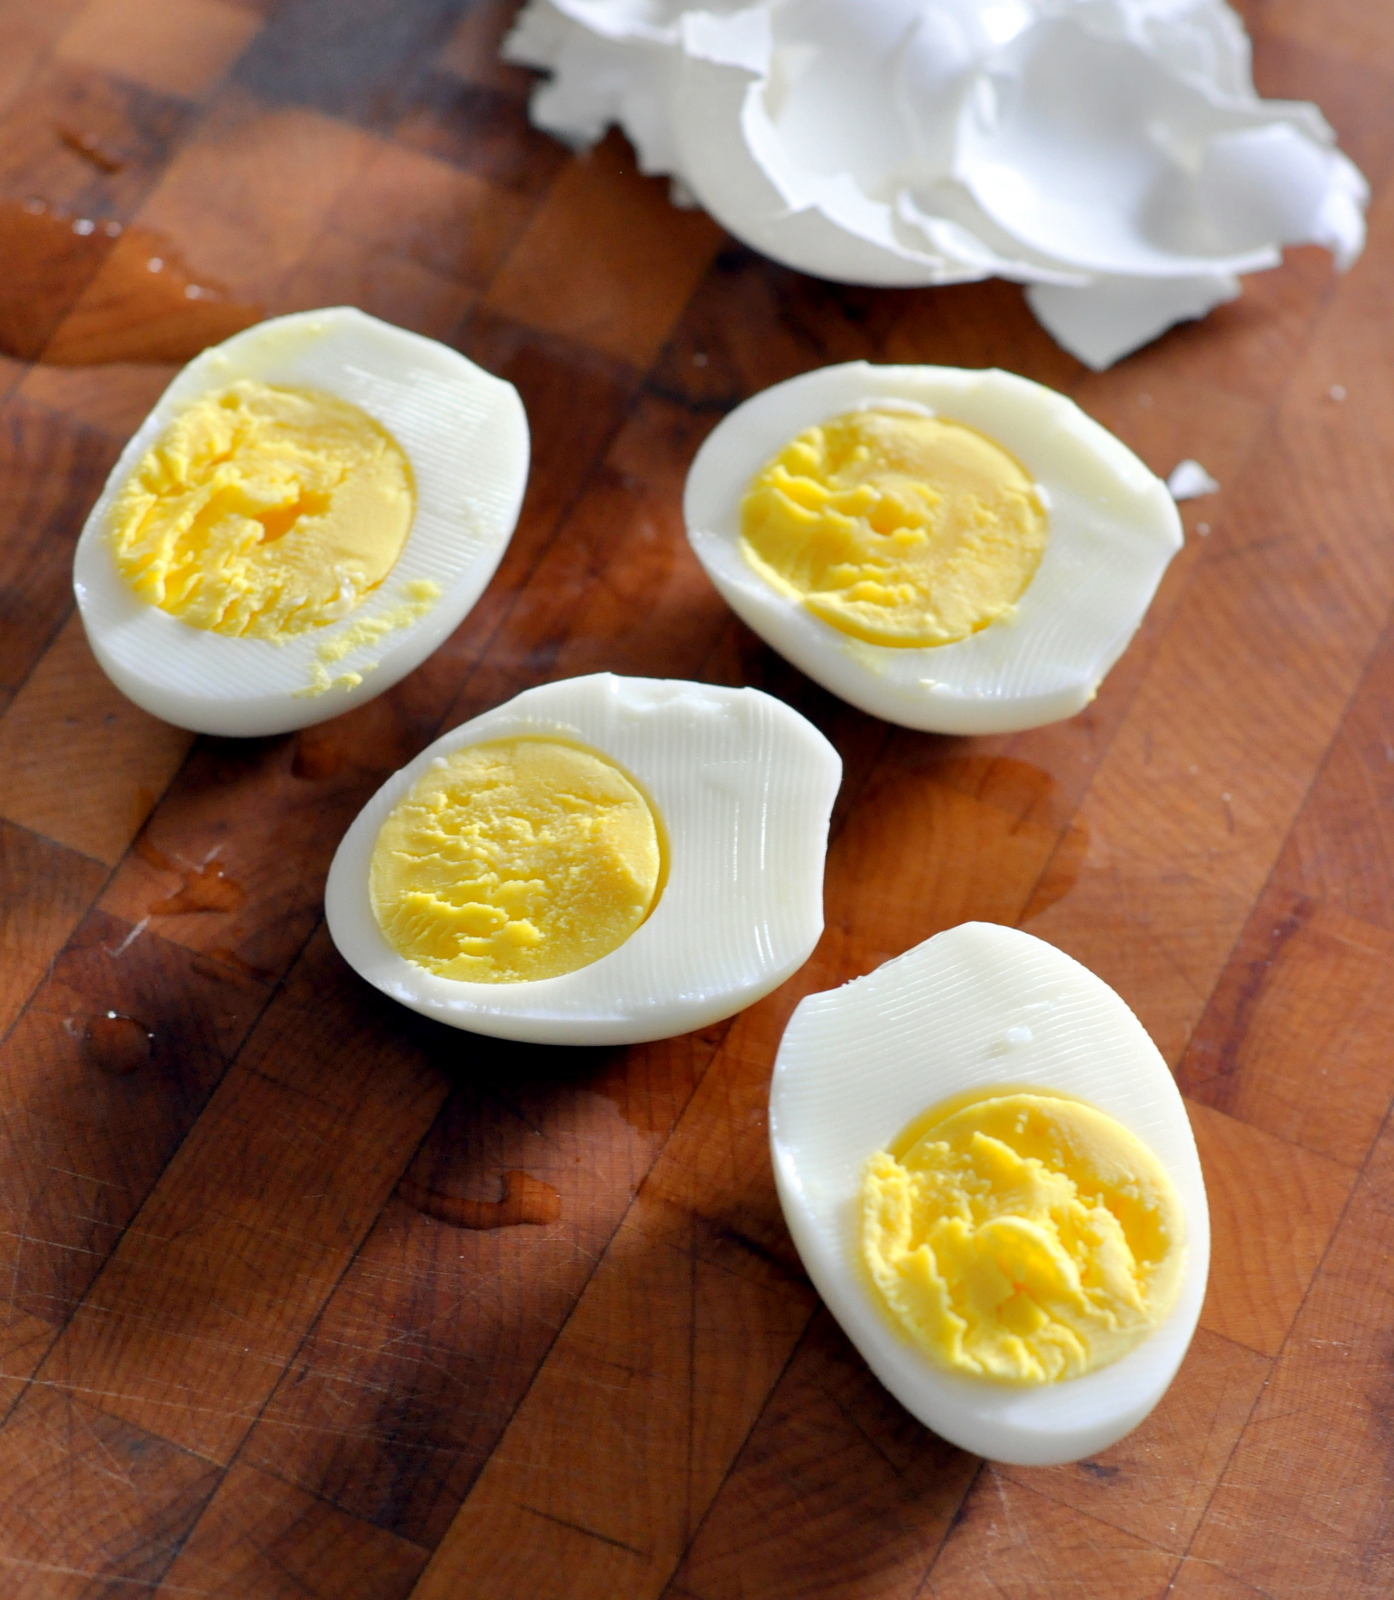
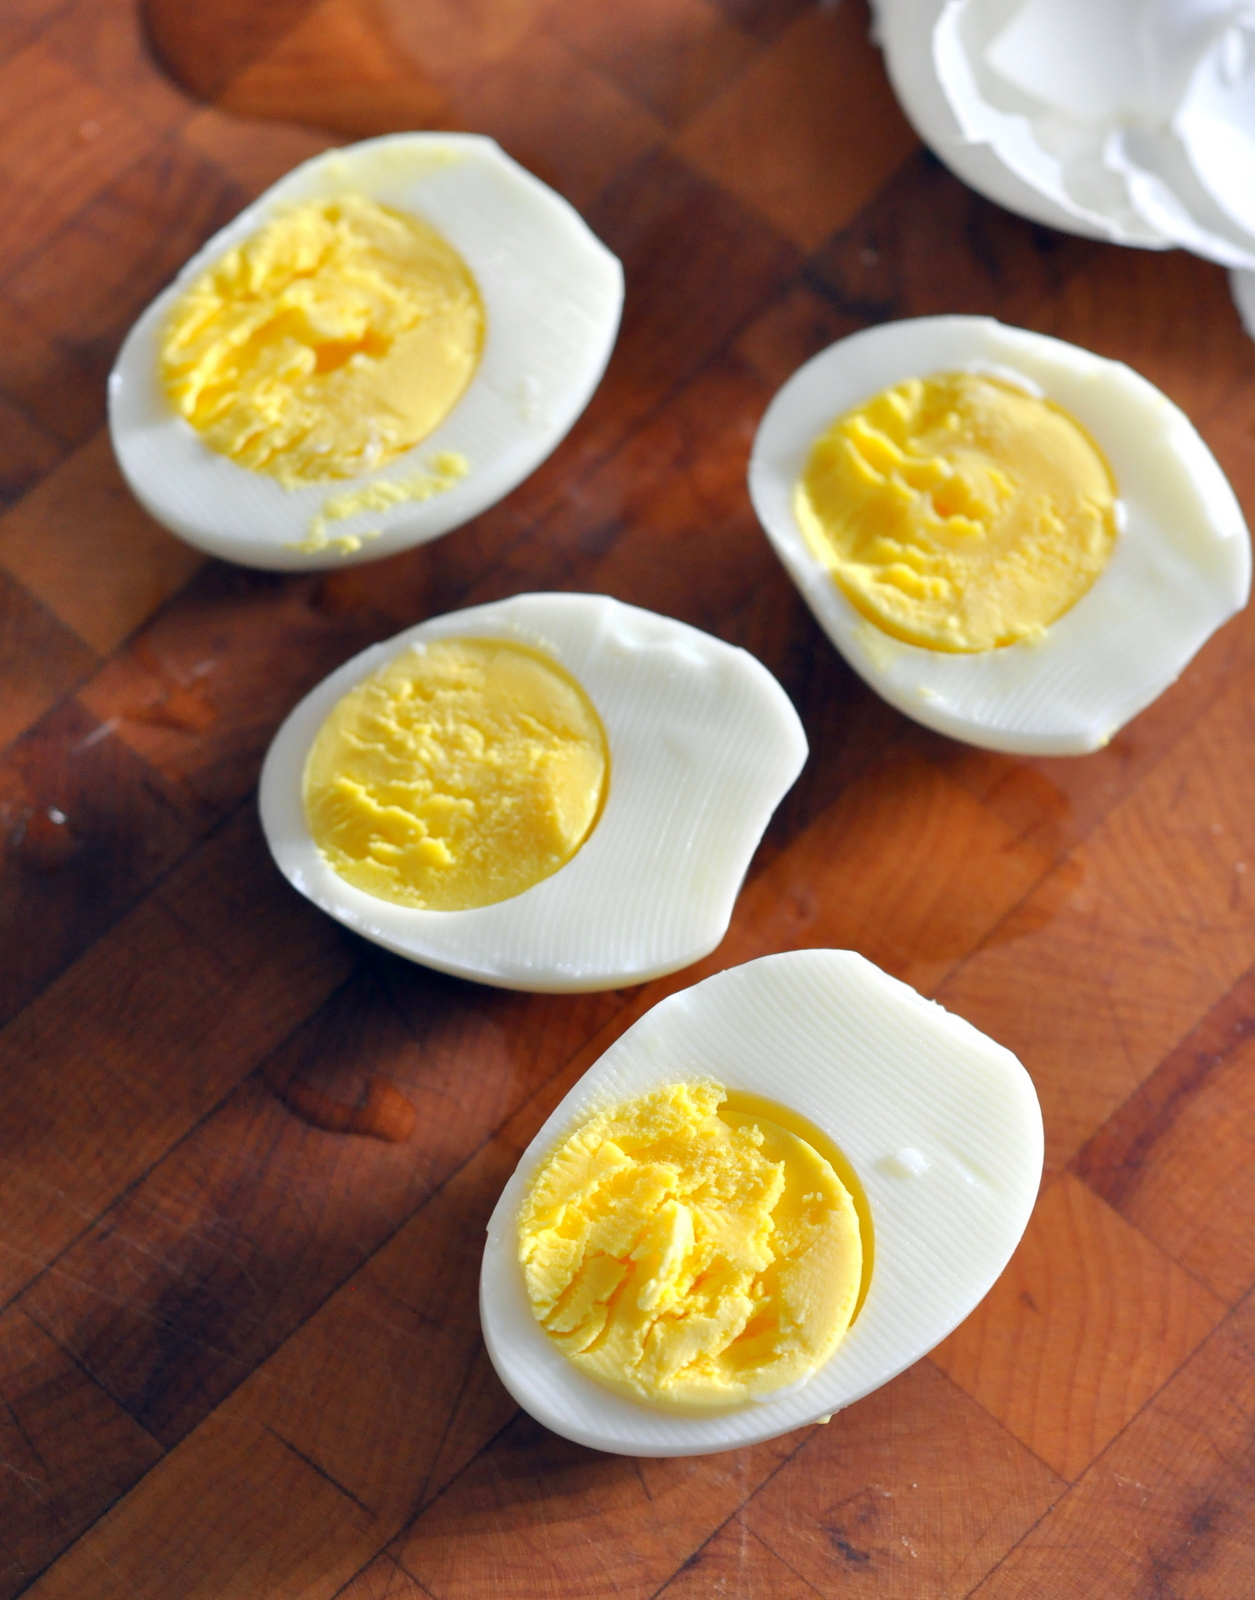
Want to know the secrets to making perfect hard-boiled eggs?

This post contains affiliate product links. Clicking on these links may result in my being paid a small commission based on product sales. Regardless of commission, all opinions expressed in this post are my own. For more information, please review our site policies.
But when you spend so much time reaching out to others, it's refreshing when someone else initiates the conversation. That's why, after confirming their email subscription, I encourage readers to write back and answer one (or all!) of the following:
- What types of recipes interest you the most?
- Where do you need the most help in the kitchen?
- Do you like to eat out? Which cuisines are your favorite? What are the main factors you consider when choosing a restaurant to try?
After sharing a photo of a salad I made for dinner on Instagram a couple of weeks ago, I received an email notification telling me that I had a new email subscriber. Almost immediately afterward, I received an email from that subscriber -- hi, Julie! -- asking for help.
Julie wanted to know how I made "such perfect looking hard-boiled eggs" because her hard-boiled eggs "always seem to come out under-cooked." I replied to Julie's email with my technique and then prepared to go about the rest of my day, but then I realized that there may be more people out there who have the same problem when trying to hard-boiled eggs.

I've been using Mark Bittman's basic technique ever since, as well as some tips I picked up along the way.
Six Secrets to Making Perfect Hard-Boiled Eggs
Secret #1: Use older eggs
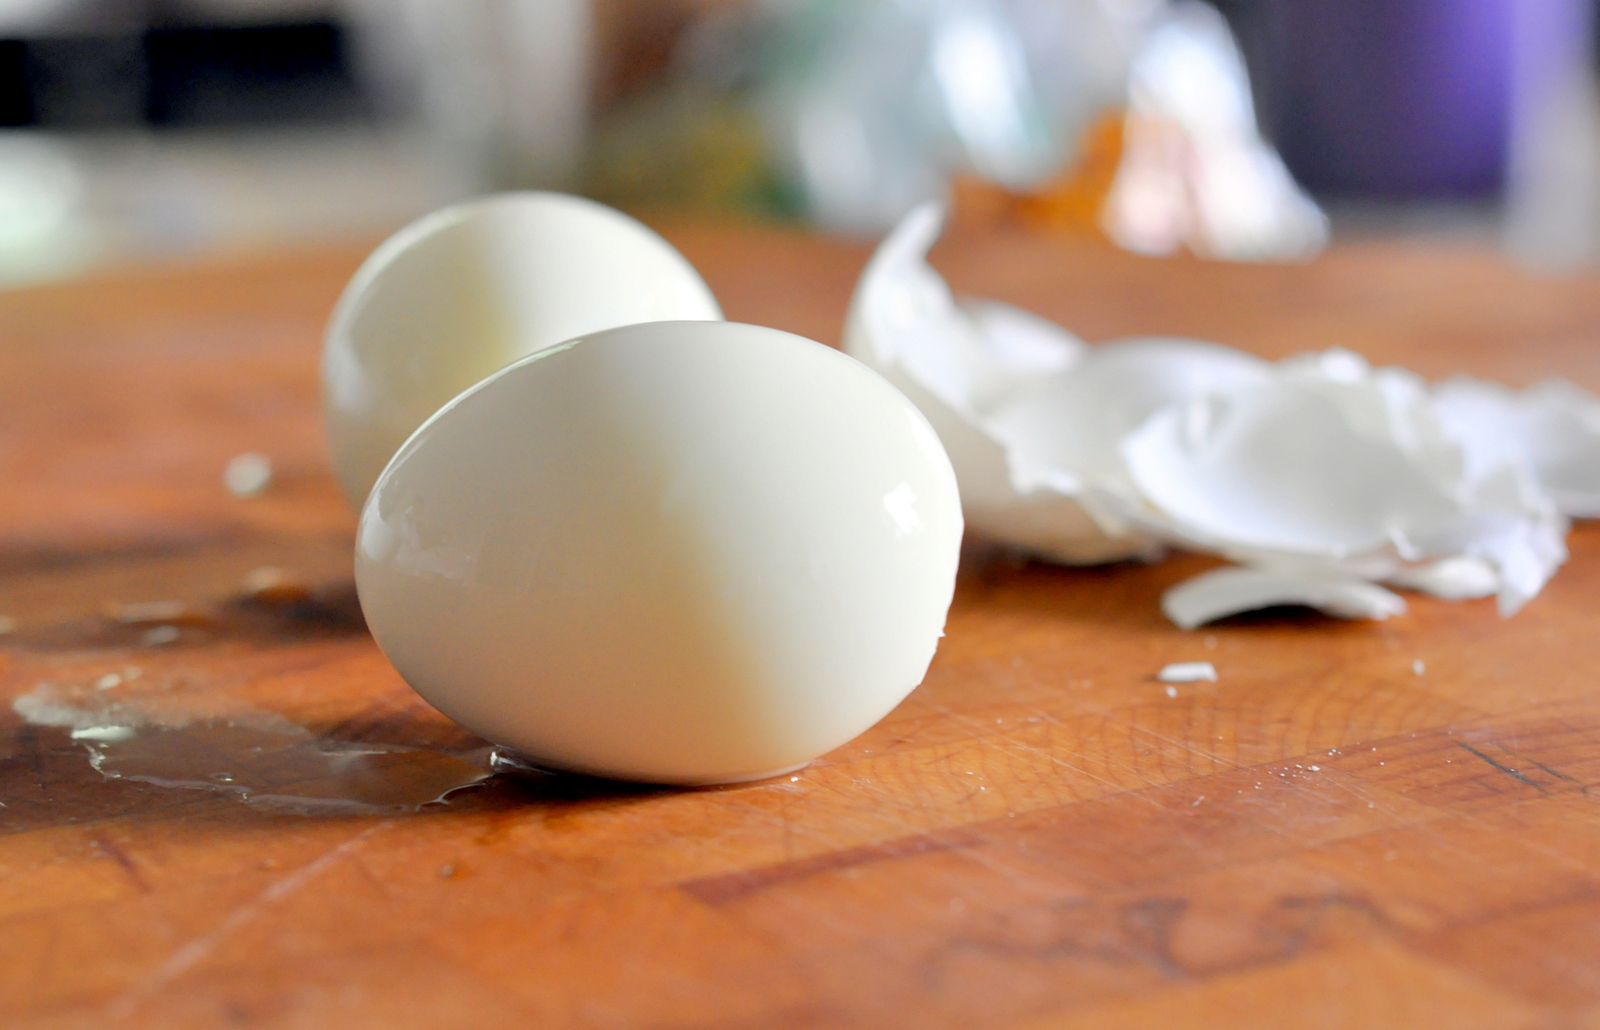
Fresh eggs are harder to peel once they've been boiled. To avoid frustration and potential cursing when peeling, do yourself a favor and use older eggs if at all possible.
Secret #2: Use the right-sized pan
Be smart when selecting the pan you're going to use to boil your eggs. If you're only boiling one or two eggs, then use a smaller pan. If you're boiling a dozen or more, then use a bigger pan.
Seems simple.
I've found that trouble only pops up when I'm trying to boil a lot of eggs at once. Trying to save time by boiling them all at the same time is the wrong approach. Use a large pan and make sure the eggs are in a single layer.
Secret #3: Use the right amount of water
Along with using a pan that's appropriate for the number of eggs you're boiling, you want to make sure you're using the appropriate amount of water.Gently put your eggs in your pan and then fill the pan with cold water until the eggs are covered by an inch or two of water. Any more than that will extend your cooking time.

Secret #4: Use your eyes
Place your pan over high heat and bring the water to a full rolling boil.
This is not the time to walk away to do something else! Even if you ARE a master at multitasking.
Ignore the cliche that a watched pot never boils and keep your eye on the pan. When the water has reached a full rolling boil, then put a lid on the pan and turn off the heat.

This is not the time to walk away to do something else! Even if you ARE a master at multitasking.
Ignore the cliche that a watched pot never boils and keep your eye on the pan. When the water has reached a full rolling boil, then put a lid on the pan and turn off the heat.

Secret #5: Use a timer
Once you've turned the heat off, leave the pan right where it is and set a timer for 9 minutes.
Now you can do something else. Like...

Now you can do something else. Like...

Secret #6: Use an ice bath
You'll want to cool down the eggs as quickly as possible once they've finished cooking. While you could run the eggs under cold water, I've found that the best way to cool them down is to use an ice bath.
So, while you're waiting for the timer to go off, get a large bowl and put some ice in it. Fill it with cold water, making sure to leave enough room for the eggs.
(If you put too much water in the bowl, it'll run over the sides when you add the eggs... because physics.)

Leave the eggs in the ice bath for a minute or two and then refrigerate in an air-tight container or crack and peel to eat or use right away.
And that's it!
Now that you know my secrets, you can tell everyone who will listen (and, maybe, even some people who won't) that you know how to boil eggs.

-----
One year ago: Summertime Nectarine Sorbet
Two years ago: Cherry Frozen Yogurt
Three years ago: Guest Post: Mexican Chocolate Brownies (and because today is my third wedding anniversary... a recap of our brunch wedding reception)
Four years ago: Winding Down at Corner Shop Cafe
Five years ago: Potato Salad, Just Like Mom Used to Make
Six years ago: Stressed Out? Cook Something!
Like this post? Connect with me to find out when I post again. Find me on Facebook, Twitter, Instagram, and Pinterest, or sign up to receive updates via email!
So, while you're waiting for the timer to go off, get a large bowl and put some ice in it. Fill it with cold water, making sure to leave enough room for the eggs.
(If you put too much water in the bowl, it'll run over the sides when you add the eggs... because physics.)

And that's it!
Now that you know my secrets, you can tell everyone who will listen (and, maybe, even some people who won't) that you know how to boil eggs.

How To: Boil Eggs
- Gently place eggs in a single layer on the bottom of your pan.
- Fill the pan with cold water until the eggs are covered by 1-2 inches of water.
- Put the pan on the stove over high heat and bring the water to a full, rolling boil.
- Once the water is boiling, cover the eggs and turn off the heat. Leave the pan right where it is and allow it to sit for 9 minutes. Meanwhile, prepare your ice bath.
- Once the eggs have finished cooking, use a slotted spoon to place them directly in the ice bath. Let the eggs sit in the ice bath for 1-2 minutes.
- Refrigerate the eggs in an air-tight container for up to one week or crack and peel the eggs to use right away.
-----
One year ago: Summertime Nectarine Sorbet
Two years ago: Cherry Frozen Yogurt
Three years ago: Guest Post: Mexican Chocolate Brownies (and because today is my third wedding anniversary... a recap of our brunch wedding reception)
Four years ago: Winding Down at Corner Shop Cafe
Five years ago: Potato Salad, Just Like Mom Used to Make
Six years ago: Stressed Out? Cook Something!
Like this post? Connect with me to find out when I post again. Find me on Facebook, Twitter, Instagram, and Pinterest, or sign up to receive updates via email!