Vanilla Bean Ice Cream
Summer is winding down... But don't put away your ice cream maker just yet!

This post contains affiliate product links. Clicking on the links may result in my being paid a commission based on product sales. Regardless of commission, all opinions expressed in this post are my own. For more information, please review our site policies.
Even though Labor Day weekend typically marks the end of the traditional summer season, summer isn't really over yet. We still have two weeks to go until the official first day of fall. While you may be thinking this blog post about homemade ice cream is totally out of place, I promise you, it's not.
Yes, digging into a bowl of ice cream can be an excellent way to beat the heat in the summertime, especially on those days when it's so hot that the idea of climbing into a bathtub filled with ice cubes sounds more appealing than crazy. But I know of no rule that states that ice cream is only meant for the summer.
Just think about those of those lovely fall desserts -- like apple crisp -- that are delicious all on their own but turn into something truly magical when served warm with a generous scoop (or two) of vanilla ice cream on top.
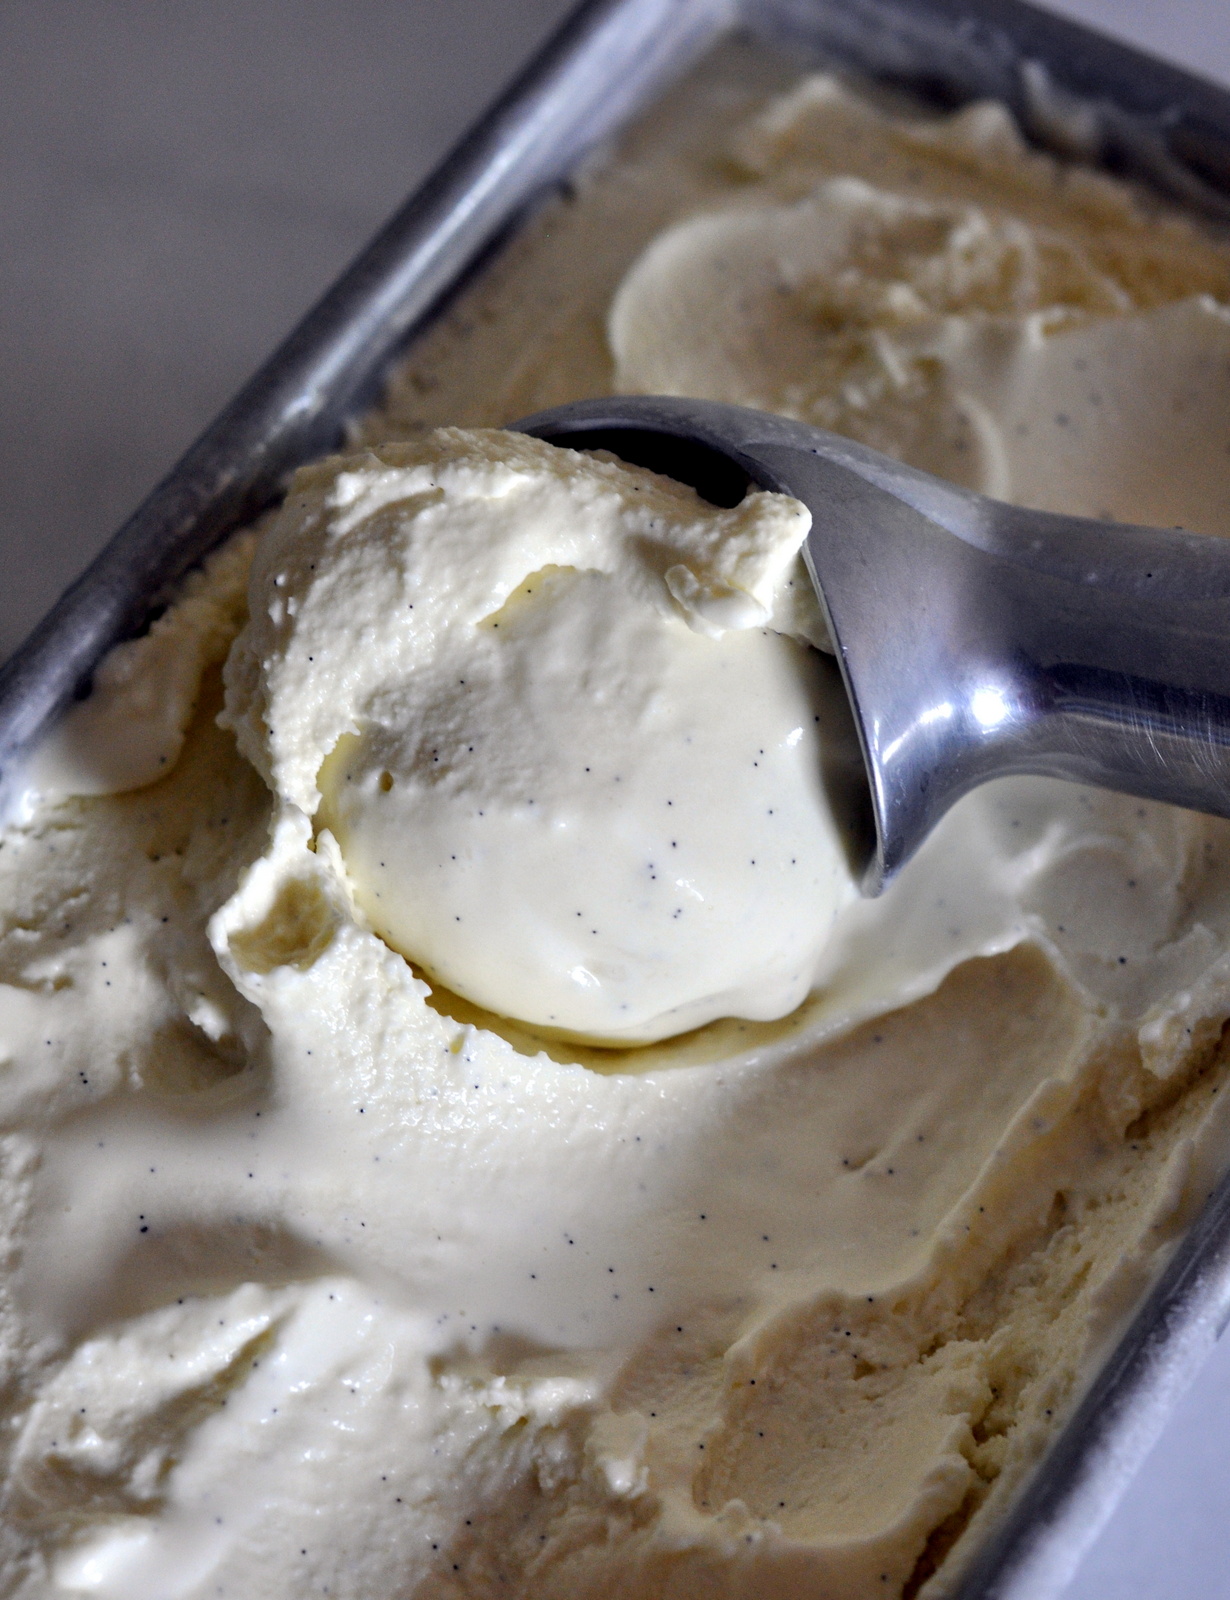
So, with those desserts in mind, I give you my recipe for Vanilla Bean Ice Cream, ice cream so rich and flavorful, you're going to want to put it on everything.
(And I won't judge you if you do.)


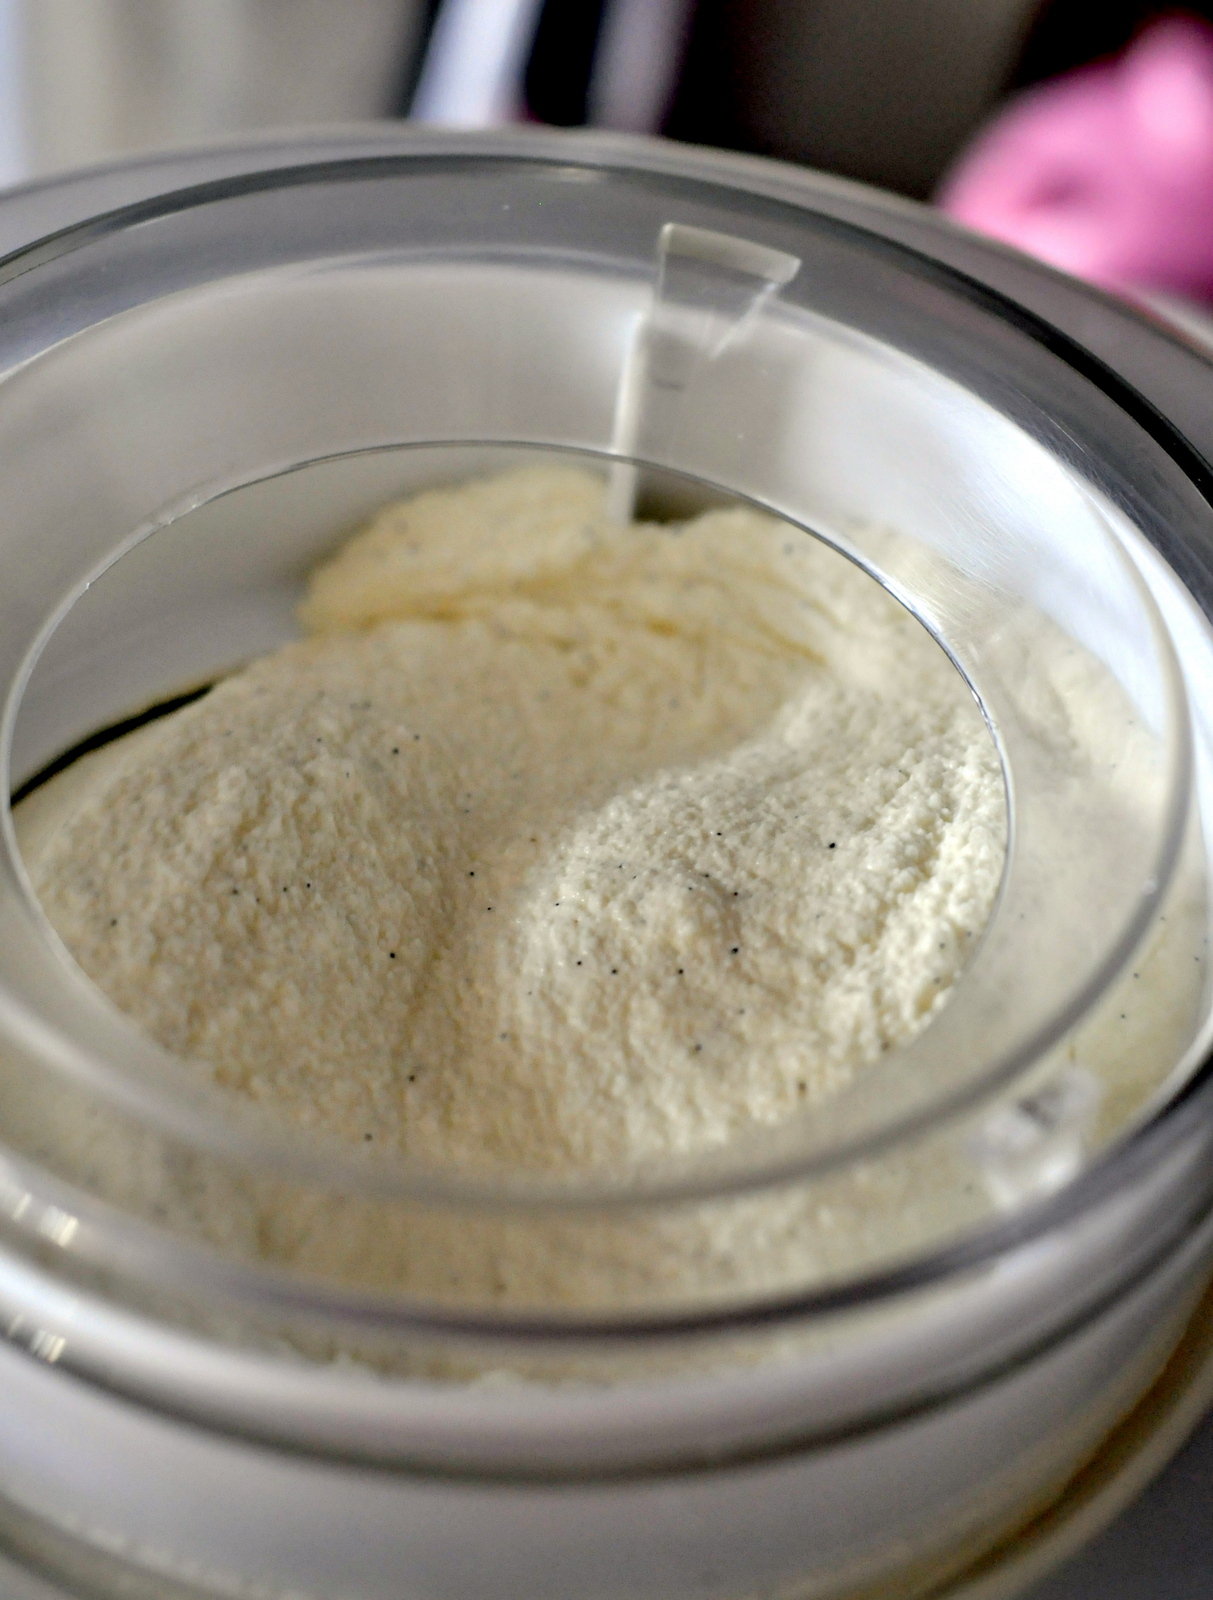
Once the mixture has thickened slightly and coats the back of a wooden spoon, pour it through a fine-mesh strainer and bring it to room temperature. When it has cooled down, stir in some vanilla extract, cover it with plastic wrap, and then let it sit in the refrigerator for 1 to 2 hours or overnight.
Naturally, the longer you let it sit in there, the more flavorful the ice cream will be. It'll be tempting to put the mixture in your ice cream maker right away, but try and wait as long as possible. It'll be worth it in the end!


(Yes, more waiting.)


To get the recipe, keep scrolling. To see which dessert I paired with the ice cream, stay tuned for my next blog post!
What's your favorite fall dessert? Do you like to put ice cream on top of it? Let me know in the comments!
-----
One year ago: Menu Plan: September 7 - September 13
Two years ago: Cucumber Mint Margarita Mocktail
Three years ago: On the Side: Milestones
Four years ago: A Taste of Los Cabos: Tour of Grand Solmar and Dinner at La Roca
Five years ago: Sweet and Spicy Bacon
Six years ago: Friends Reunite over Dinner at Apollo Grill
Seven years ago: White Chicken Chili
Like this post? Connect with me to find out when I post again. Find me on Facebook, Twitter, Instagram, and Pinterest, or sign up to receive updates via email!